Thursday, June 13th, 2013...3:11 pm
Homemade Maple Bacon
I know, this post has been a long time coming. I think I first talked about curing my own bacon last October, and – wow – I can’t believe almost 8 months have passed between then and now. But now that my bacon recipe has gotten a shoutout in an awesome cookbook, I figure it’s high time I actually have a recipe somewhere that I can direct people to.
For the first few batches, I devoted a fair amount of headspace trying to tweak my dry cure recipe in search of perfection. Then, after getting irritated with a batch that hadn’t turned out exactly how I’d wanted it to, I suddenly realised that even when it didn’t have as much maple as I’d hoped it would, or when I included fennel and then realised I wasn’t a fan of fennel (in bacon anyway), any bacon that you go through the trouble of curing at home is still going to blow the socks off of anything you can buy in a supermarket. And, it wasn’t difficult at all.
In fact, the hardest part about this is probably trying to procure some pink salt. I understand that this is pretty easy over in the US (you can order it here), but it’s been significantly harder to find it anywhere in Hong Kong (or Singapore – though to be honest I haven’t spent that much time looking for it on my trips to Singapore). I ended up having to beg/borrow/steal a small tub off a chef friend of mine (who also happens to be my not-so-secret supplier of pork belly for the bacon), but you only use a couple of tablespoons per batch, so a little goes a long way.
Once you get that out of the way, all you have to do is mix up a dry cure (sugar, salt, pink salt, and whatever flavourings you’d like to incorporate), massage that into the pork belly, then leave that to hang out for about a week in your fridge, flipping it every day. I vacuum-pack my pork belly since that makes flipping it much cleaner and neater, but a giant ziploc bag will do just as well. If you don’t have a big enough bag, just put it in a snug-fitting roasting tray or deep dish, and cover that tightly with clingfilm.
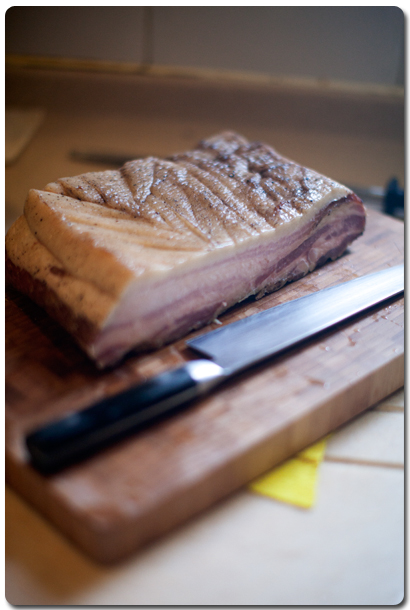
Once it’s been cured, you rinse the cure off, and it will keep – at this stage – for a couple of days in your fridge, if you don’t have the time to smoke or roast it off just yet. One of these days, when the weather decides to cooperate, I’ve got great plans for a jury-rigged smoker that I’ll stash in my friend’s terrace (in exchange for a few slices of the smoked bacon, of course). Until then, I’ve been making do with roasting the pork gently in my oven set on a rack over a tray.
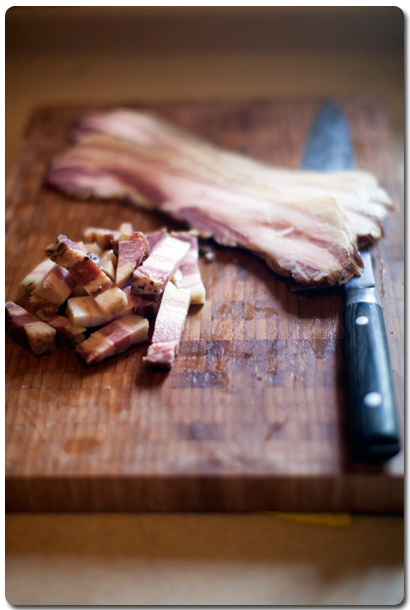
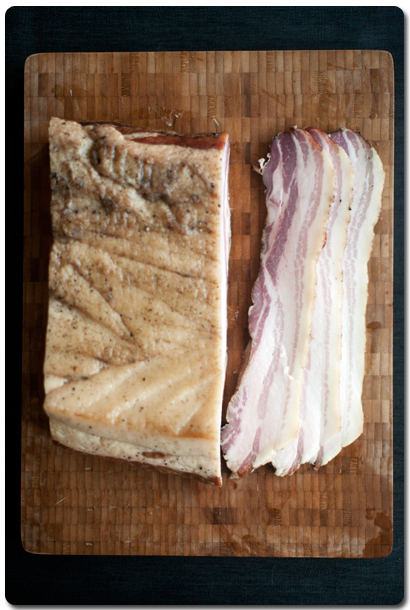
There’s also two ways to go about dealing with the skin. If, like in the pictures here, you decide to start it skinless, don’t throw the skin away. Save it to make into chicharon. Or if you’ve left it on, I find it easiest to remove it while it’s still warm from the oven. And don’t throw this stuff away either – it provides a fantastic savouriness and depth of flavour to any broths or stocks you might next make.
So. Although I haven’t leveled-up to bacon perfection just yet, I’m rather pleased with the recipe I’ve got now. It’s fairly basic, since I’ve found that my preference is for a bacon that doesn’t have too many flavours and spices fighting for attention. I also prefer my bacon on the sweeter side, especially if it’s to be eaten on its own, and after a few months of tweaking, this is a recipe that I’m quite content to share.
Have you cured your own bacon before? How does your recipe differ?
Homemade Maple Bacon
(based loosely on this recipe by Michael Ruhlman)
For the dry cure
25g black peppercorns
5 fresh bay leaves
5g fresh thyme, leaves picked
5g fresh rosemary, leaves picked
1/2 nutmeg, grated
1/2 tsp ground cinnamon
50g sea salt (preferably not too fine ground)
2 tbsp pink salt
25g dark brown sugar
60g maple syrup
2.5kg slab of pork belly, rind on
Remove any stray hairs from the pork belly (I find the easiest way is to shave it with a cheap disposable razor). rinse and dry thoroughly with paper towels. If using the rind for chicharon, remove it now with a sharp knife.
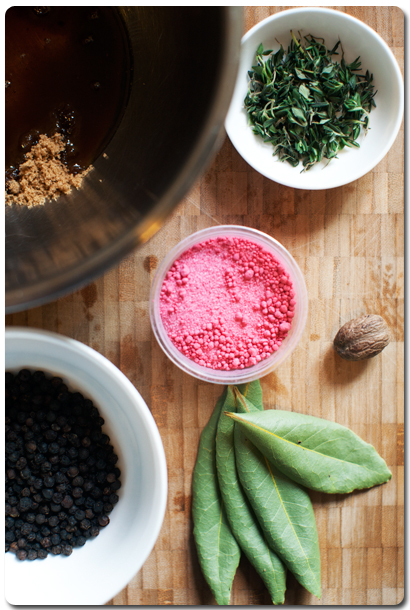
Toast the black peppercorns in a dry pan and crush them with a heavy skillet or in a mortar and pestle. Roughly chop the bay leaves, thyme and rosemary. In a large non-reactive mixing bowl, mix the peppercorns and herbs with the nutmeg, cinnamon, both salts, and the brown sugar, breaking up any clumps of sugar. Add in the maple syrup and stir to combine evenly.
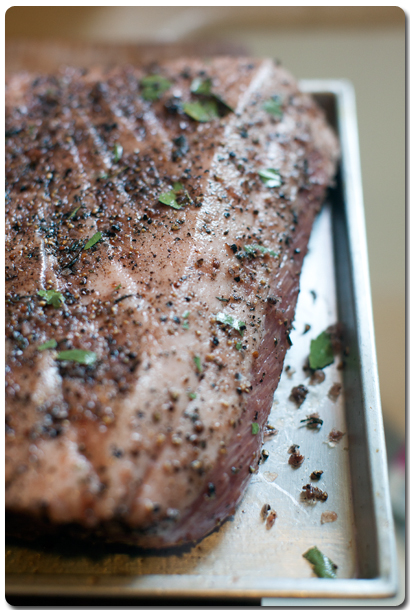
Place the pork belly in the mixing bowl and rub the cure into all sides – spend a couple of minutes really massaging it into all of the crevices. Transfer the pork belly into a large bag, scraping in any of the cure that doesn’t adhere to the meat. Vacuum seal the bag. (If using a re-sealable bag, press out as much air as you can, then seal the bag.)
Refrigerate to cure for 7 days, flipping the entire bag every day. By the end of the curing period, the flesh should feel significantly firmer to the touch.
Preheat your oven (or a smoker) to around 120°C.
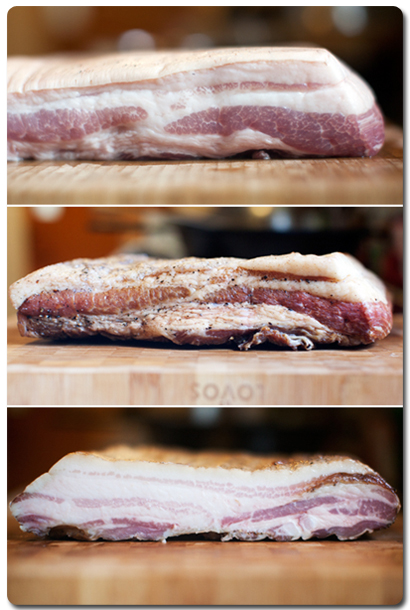
Remove the cured belly from the bag, and rinse off all the seasoning under cold running water. Pat it dry, and place on a rack set over a baking sheet. Gently roast the bacon until an instant read thermometer inserted into the middle reaches 65.5°C, about 2 hours.
If you left the rind on, it’s easiest to remove it once the bacon has cooled enough to handle. Save the rind for beefing up the flavour of soups, stocks, or stews.
Congrats! You’ve now made bacon. It will keep, well wrapped, in the fridge for 1-2 weeks, or in the freezer at least 6 months.
Yield: Slightly over 2kg of slab bacon
For more information, check out any of the following links:
Charcuterie by Michael Ruhlman & Brian Polcyn
Home-Cured Bacon by Michael Ruhlman
Curing and Smoking Bacon at Home by Food52
Home-Cured Bacon in the NYT
The secrets of home-curing your own bacon in the Guardian


1 Comment
October 1st, 2013 at 8:31 pm
[…] belly & pink curing salt (Prague Powder #1) from The Butchers Club and thanks to our blogger Whine & Dine for the recipe and guidelines – Here is my first and very first home made […]
Leave a Reply