Monday, August 23rd, 2010...6:51 pm
Culture Shock
I have a strange obsession with making things from scratch. And this obsession doesn’t stop at dishes – I’m often trying to find ways to make what most people would consider ingredients on my own. It’s so bad that whenever I start banging on about a new project I’m embarking on, one of my friends starts asking if I’m going to grow a tree and whittle my spoons out of the branches, using a knife made from a flat, sharp piece of rock. (I’m rolling my eyes right backatcha, S.) And as much as I’ve talked about making many things from scratch (bacon, ketchup, mustard, cheese etc), I haven’t actually gotten round to most of it.
A couple of months ago, Michael Ruhlman wrote a post about a book called Unfinished Business. In the post, he challenged the readers to comment and commit to our unfinished business (in the kitchen, in particular). I didn’t comment, mostly ‘cos I was worried I wouldn’t see it through, but mine was to finally make two things: butter, and bacon.
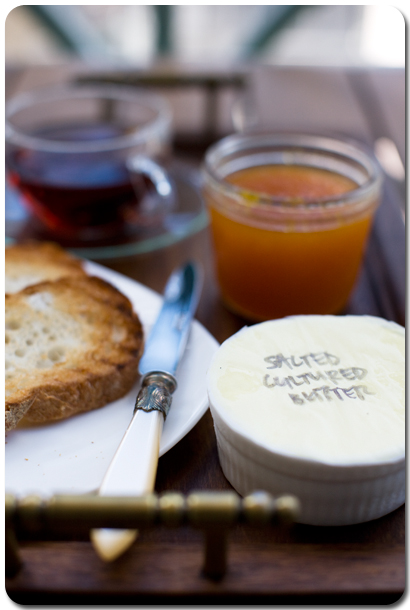
I’ve yet to do the bacon (and I’ve been talking about doing that for over 2 years now, so I really should get down to it), but at least I’ve finally done the butter! One Friday, I woke up grouchy – it was the sort of mood that only submerging myself in cooking is ever able to really fix, so I got into my car and hightailed it down to the supermarket. I bought a tub of crème fraïche, trawled the shelves for the cream with the highest fat content (I have no idea where to find raw cream, and figured I could save the nitty gritty details for a subsequent attempt), and got to it. And while every blog post that’s dealt with making your own butter has reiterated how easy it is to do, for some reason I was still taken aback by the idiot-proof-ness of it all. Clean a container, mix your cream and culture together – let that stand for 12-24 hours at 20-26ºC. Bring it to 15ºC, and blitz/process/blend/whip/whisk/paddle/churn until it separates. Drain out the buttermilk (reserving it for another use), rinse, knead and salt if desired. Butter. This was made with fairly run-of-the-mill organic cream (not some superfat, from-Jersey-cows, reared on grass not grain, raw, unpasteurized stuff), but boy was it delicious! Now I’ve gotta find me some of that superfat, from-Jersey-cows, reared on grass not grain, raw, unpasteurized stuff and I’m positive my mind’s simply waiting to be blown.
Or maybe I could convince bunny to get me a cow.
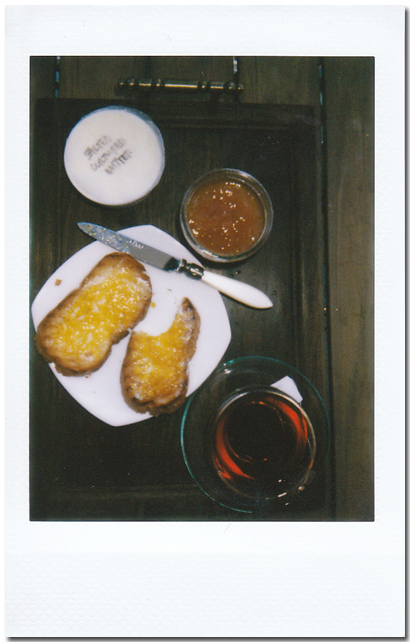
Cultured Butter
(from The Traveler’s Lunchbox)
1 litre full-fat cream (preferably organic, non-UHT cream, with the highest fat content possible)
80-200ml crème fraïche/yoghurt (without gums/stabilizers)
ice and water
salt, optional (preferably flaky maldon sea salt)
Clean an appropriately sized container (preferably glass or ceramic) and a silicone spatula – I used a deep glass mixing bowl and washed it with boiling water. Tip in your cream and the crème fraïche, mix together thoroughly, then cover loosely and set aside for 12-24 hours. You want to leave this in a place that is around 23ºC (within 20-26ºC will do), so I stashed my bowl in the study with the air conditioner on (room temperature is something like 35ºC these days!), safe away from the cats.
Check and taste it every now and then, it should thicken and become pleasantly tangy. If it’s bubbling and gassy, this means that some bad bacteria has gotten in and you’ll have to chuck it out and start again. Once you’re happy with it, you can either proceed to the next step, or transfer the container to the fridge and hold it for another 24 hours.
Once you’re ready to churn the butter, allow it to come to approximately 15ºC (let it sit at room temperature if taken from the fridge or sit the container in an ice bath if it’s already at room temperature). Prepare a jug of iced water, and then transfer it to your chosen churning contraption: if you are so lucky to be in possession of one (and in which case you probably wouldn’t need to read this post), you can use a butter churn, otherwise whack the cultured cream into a food processor, a stand mixer fitted with the whisk or paddle attachment, or even into a large bowl if you’d like to do it by hand. Whisk at medium-high speed as though you’re making whipped cream, and once it gets to stiff peaks, reduce the speed to low. Continue whisking, the cream will take on a grainy appearance and finally split into a watery-milk looking liquid (your buttermilk is, after all, essentially cultured skim milk) and yellowish globules of butter. Shut off the motor when it splits (if using a stand mixer you might want to clingfilm the bowl to avoid looking like a dairy truck exploded all over your kitchen!), and drain the buttermilk out through a sieve. The buttermilk can be reserved and used in baking, cooking, or making smoothies etc.
Add a cup or two of iced water into the bowl and paddle/knead the butter gently – this is to rinse any remaining buttermilk out. Removing the buttermilk prevents the butter from going rancid as quickly. The water will turn chalky – drain off this liquid, and repeat until the washing water remains completely clear. The butter globules will also start to stiffen and stick together into a big ball of butter. Drain well, then knead on a clean surface or in a cloth-lined colander to remove as much water as possible. At this point, you can also knead in salt if desired, to taste (for flavour, as well as to prolong the butter’s shelf life), then store your butter in ramekins, in rolls, or any way you like.
It will keep for a week in the fridge, or for a few months in the freezer. Either way, ensure that you keep it tightly wrapped, as butter tends to soak up odours (unless you’ve got some truffle in your fridge, in which case you should chuck that into a ziploc bag with your butter).


Comments are closed.